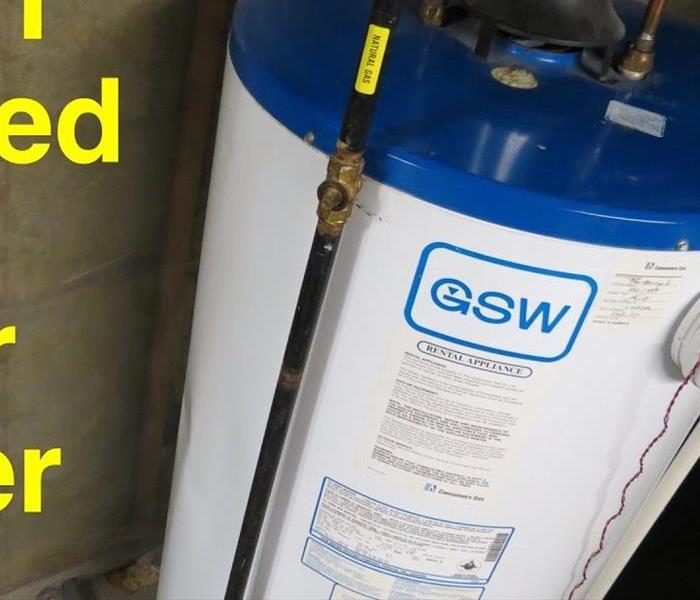
How to Perform a Water Heater Flush
7/29/2019 (Permalink)
We, SERVPRO of Tracy has Tips for you..
Consistent water heater maintenance can keep the appliance in great condition for many years. Take a look at the simple steps involved in performing a heater flush.
- Gather Supplies
There aren't many tools required for a water heater flush.
- Garden hose
- Screwdriver or pliers
- Work gloves for safety from hot water and appliance parts
- Designated drainage spot
Once you have everything in place, it's time to get started.
- Turn Off Power to the Heater
If you have an electric heater, shut off the electricity with the appropriate circuit breaker. If you have a gas heater, turn off the gas and watch for the pilot to extinguish.
- Connect the Hose
Attach the garden hose to the drain valve on the water heater. Place the other end of the hose at your drainage location. This should be a place that can handle large quantities of warm water and sediment from the tank.
- Open the Drain Valve
Let the water flow freely from the drain valve for several minutes and then turn on your kitchen hot water. After running the kitchen faucet for a couple of minutes, turn off the water supply valve (leaving the kitchen faucet running). When the water stops completely, turn the valve on again for a second flush and then close it again.
- Close Valves
With the water and sediment drained from the heater, you can close the water supply valves and turn the water back on. The open faucet in the kitchen provides a good indication of how the water is running. When the water runs consistently, the tank is full and ready to go.
- Turn On the Power
When the tank has filled completely, you can turn your electricity or gas back on. Turning on the power before the tank is full will damage the heating element.
Take the right steps to prevent sediment build up and a lot of related damages.
Call SERVPRO of Tracy if you have any questions on 209-834-0200

 24/7 Emergency Service
